I find out that almost every time when I'm starting a new project need something especially for it. That way came the idea to make my own custom stencil and I'm going to share it with you.

- piece of clear or colored acetate sheet / I think colored one is much more easy to use for that purpose/
- small dies - I choose Diamond Press dies because they are perfrect size
- fine point permanent marker
And the rest of the list for the card:
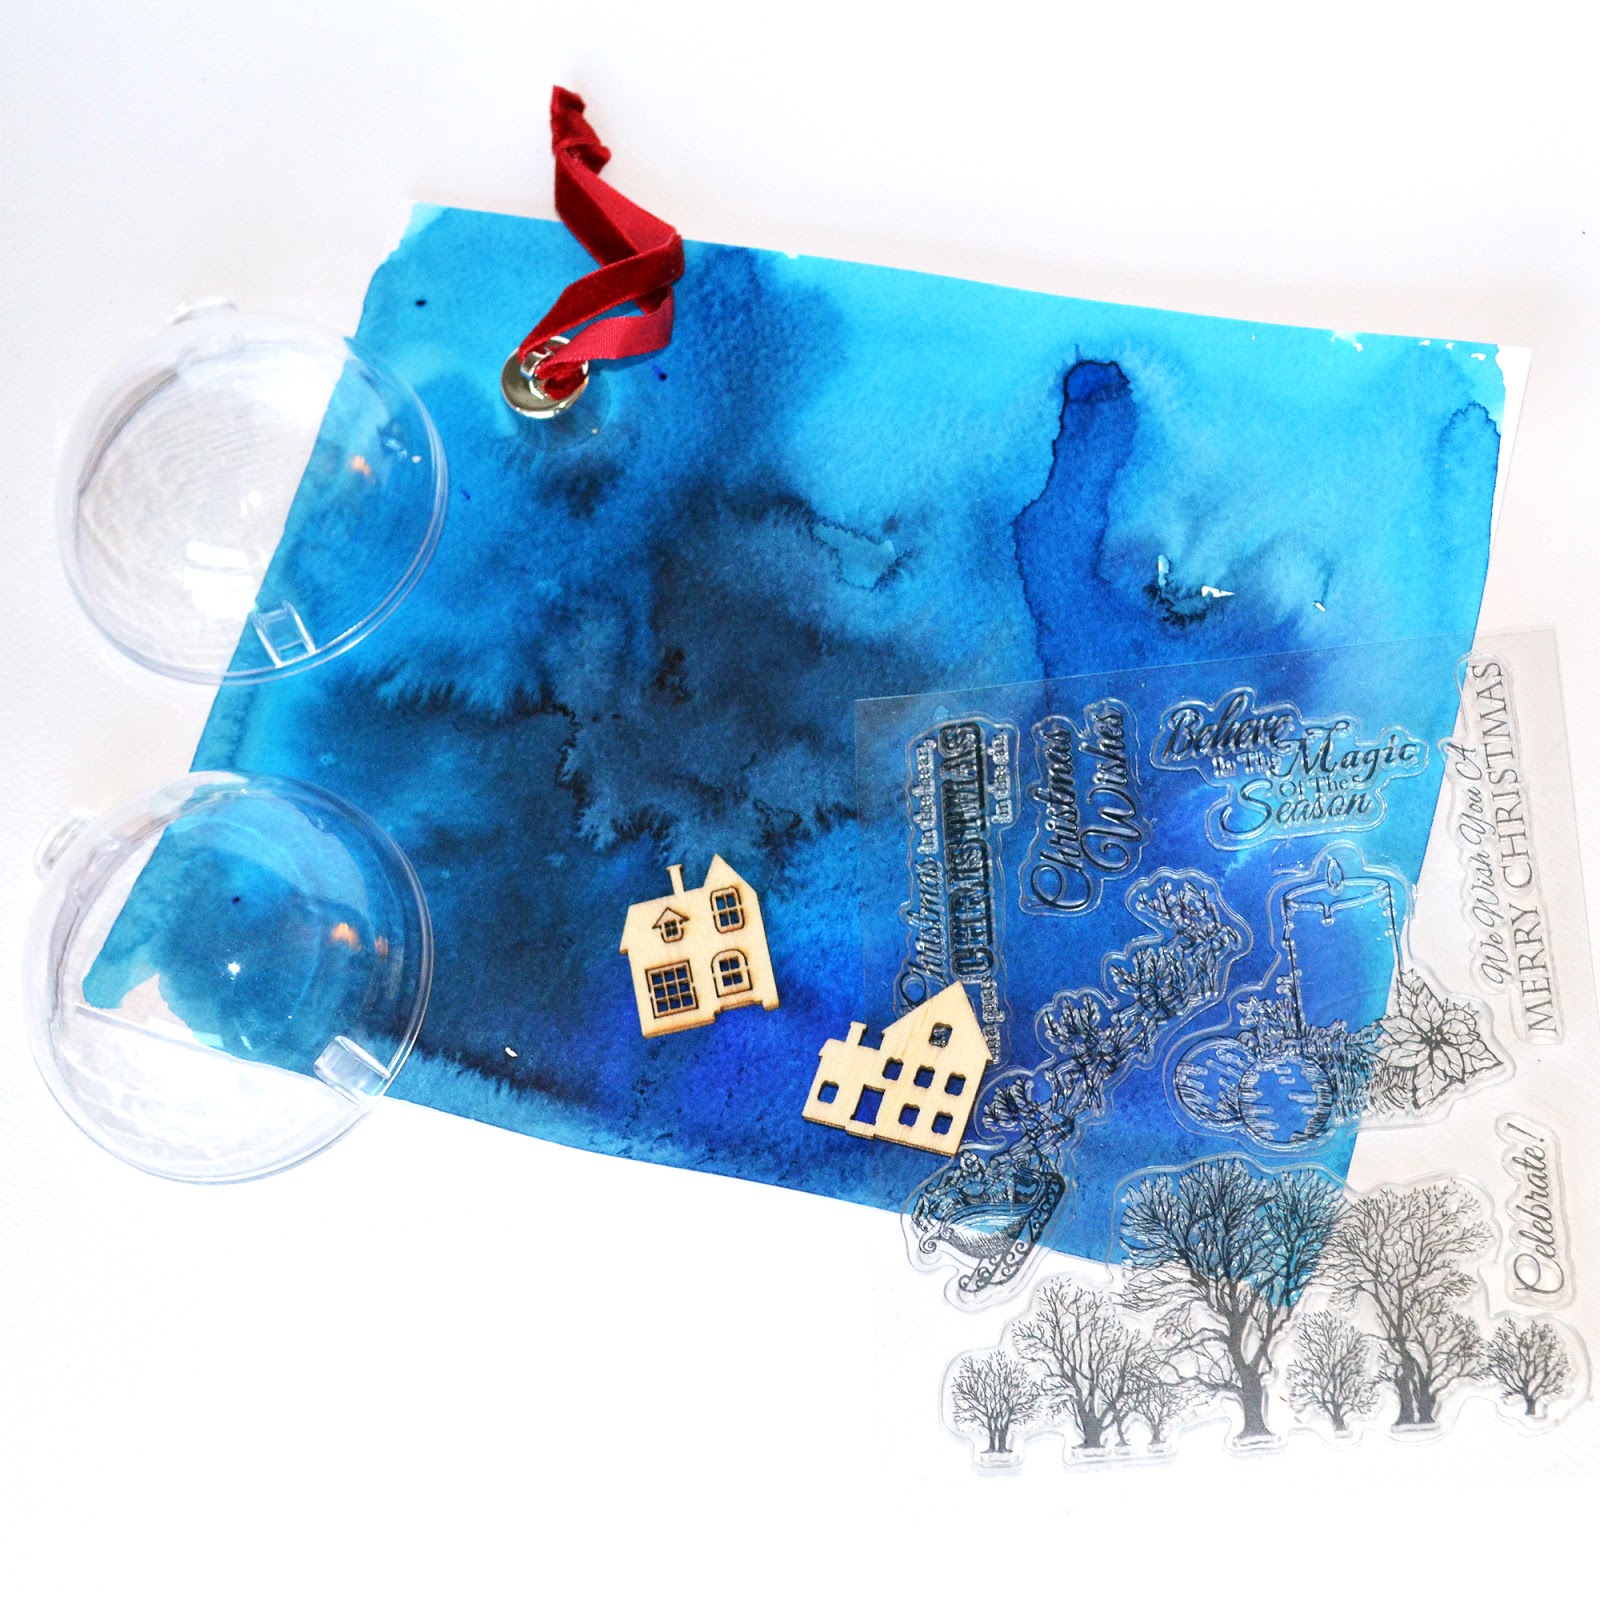
- Spectrum Noir AquaTints Inks
- watercolour cardstock
- Acrylic structural paste
- some stamps by choise and ink pad
- colored cardstock
- refillable spray bottle
- some emblishment & dies by choise
- glue
Step 1
You have to create a pattern with your dies- chose the size of the dies and the distance between figures.
I decide to try small and big pattern. For perfect stencil you'll need to lined the dies shape with marker first. Make it on the back side of the dies because it's easier to stick it with tape.

Here is my acetate sheet ready for work.

Start cut the shapes. At the end clear the acetate sheet with cloth impregnated with alcohol to erase all the tracks of the marker.

And here it is your stencil in two really effortless steps!


Use white structural paste and color it with AquaTints. That way you may have any color you like.


06, 21, 26, 30, 24 - Bright & Primary sets
I hope you enjoy this and give it a try !
Share a card or other project you make using this tutorial with us on our Facebook page, tag us on Instagram (#spectrumnoir or #spectrumaqua) or on Twitter (@SpectrumNoir)! We’re also on Pinterest so tag us there as well for a chance to get re-pinned to our Colorist Creations board!
Tutorial credit: Mila Popova